Creating an Action
In this guide, we will create a monday action, which will be executed manually from inside Power Automate.
Create a new Power Automate flow using the monday.com connector
To get started, we will create a new Power Automate flow based on trigger. We'll authenticate the connector with monday.com. Finally, we'll use the output of the trigger in a Power Automate action.
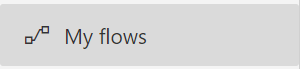
1. In Power Automate, click on "My flows" in the left sidebar
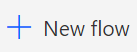
2. Click the "New flow" button
3. Select "Instant cloud flow"

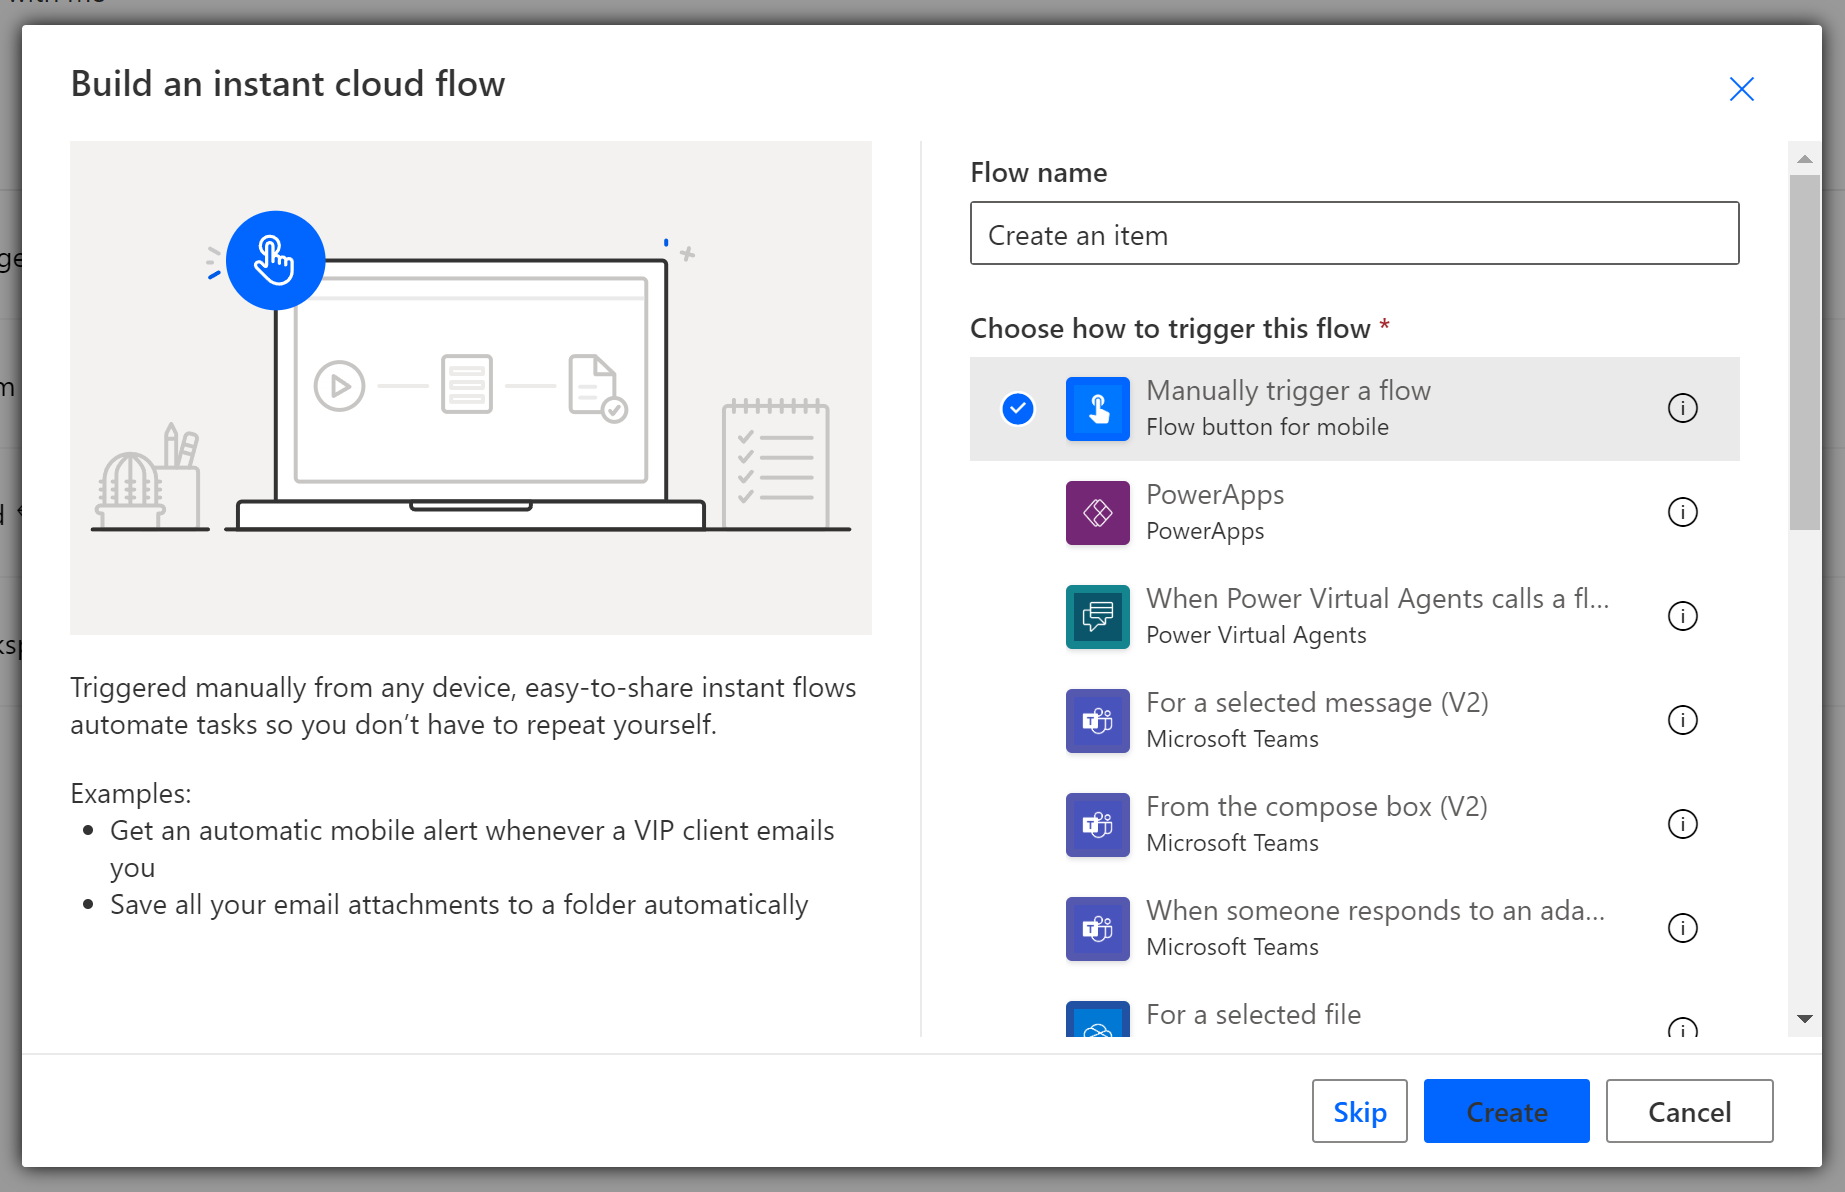
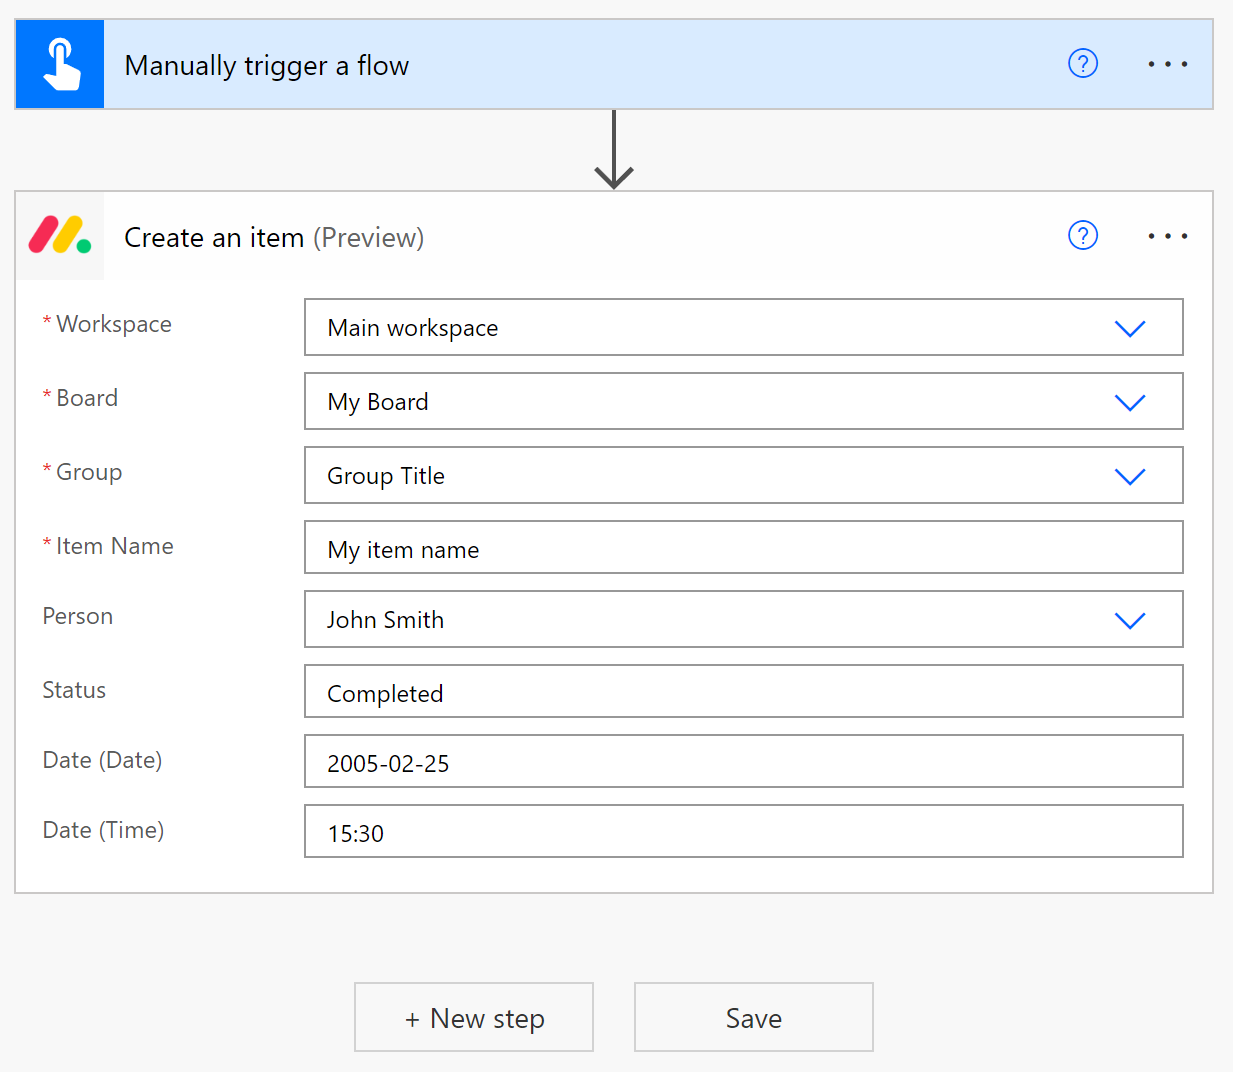
4. Add a name for your flow. Then click the "Manually trigger a flow" trigger, which will allow us to manually trigger a flow from within Power Automate. Finally, click the "Create" button.
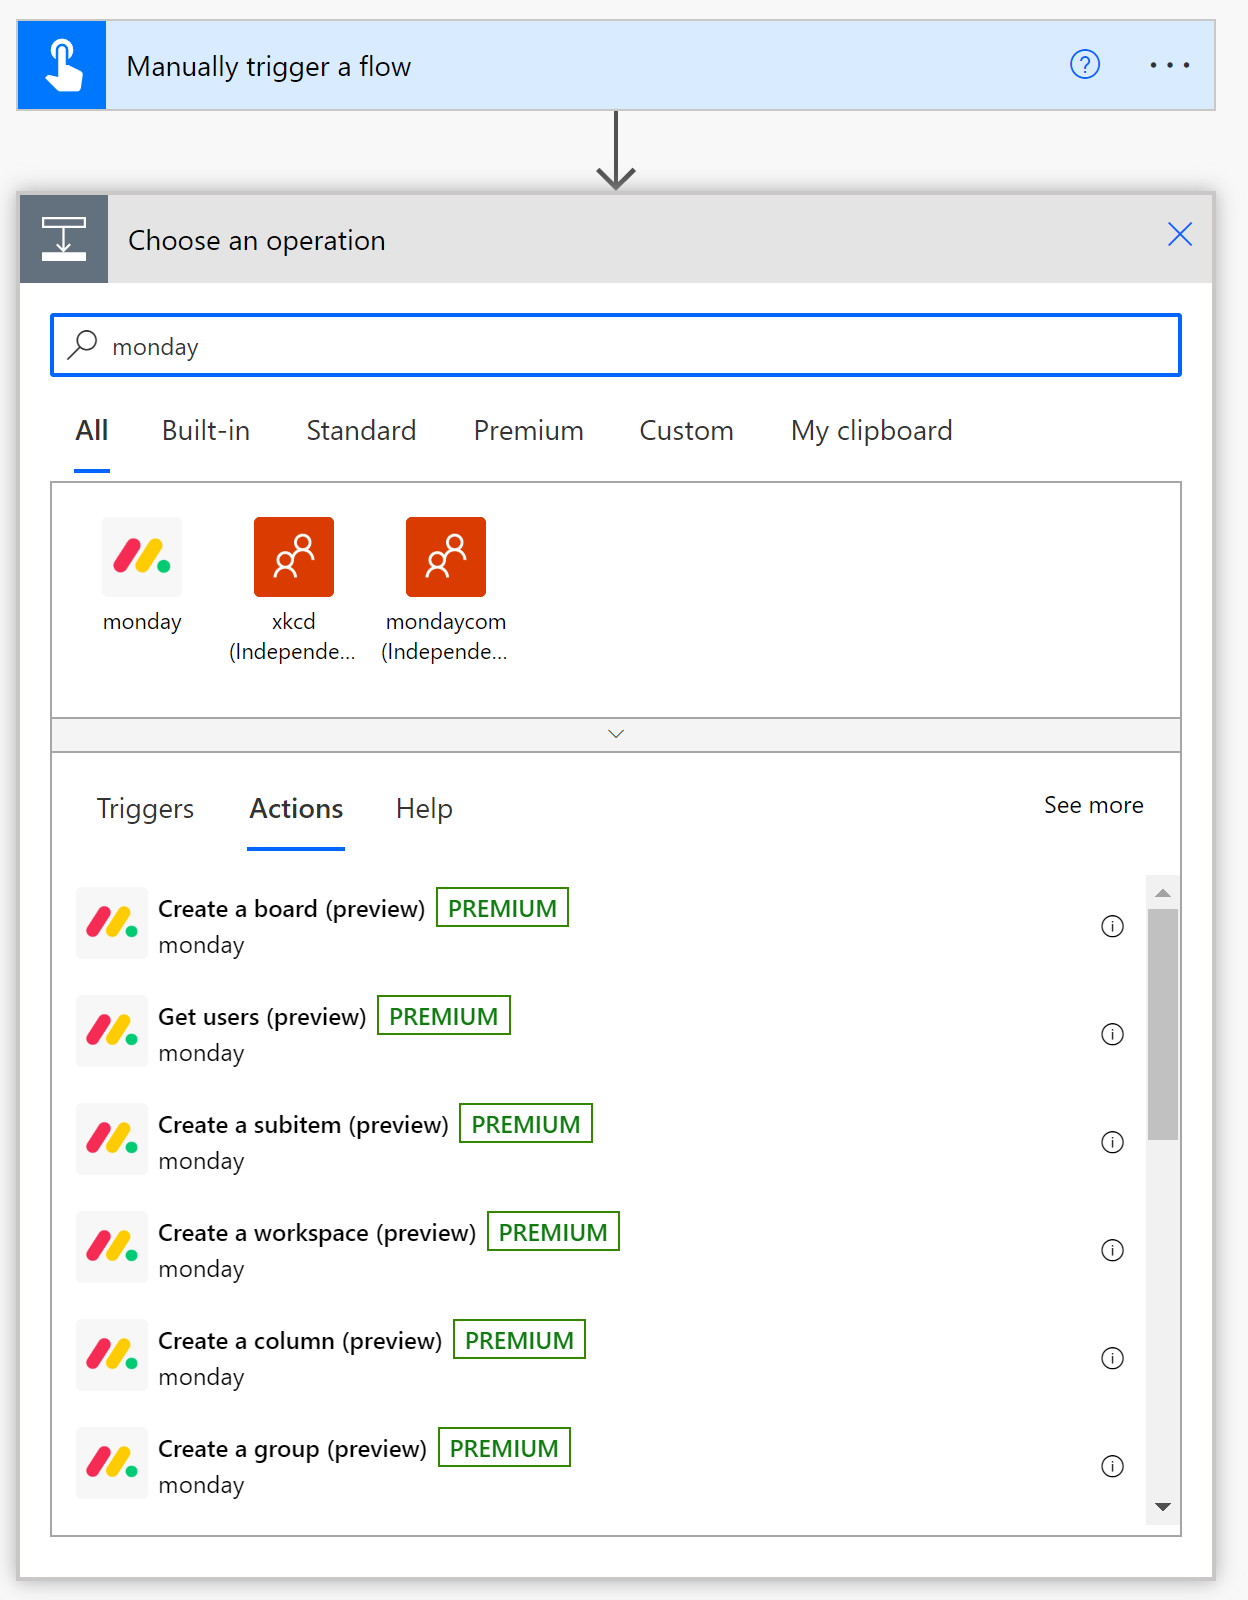
5. Click the New Step button and search for "monday" in the search box. Scroll down and click the "Create an item" action.
6. Fill in the workspace, board, group, and item name. If desired, fill in the other item columns as well. Make sure you format the data correctly, otherwise the item will not be created correctly. Use the placeholder text for each field to determine what format each column should be in.
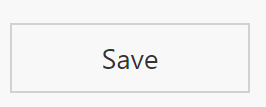
7. Click the save button.
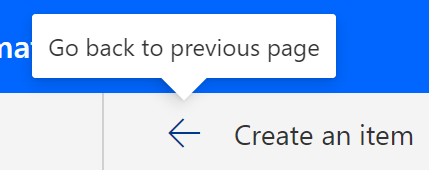
8. Click the back button in the top left of the window.
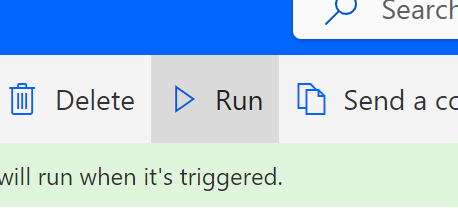
9. Click the "Run" button to run the flow.
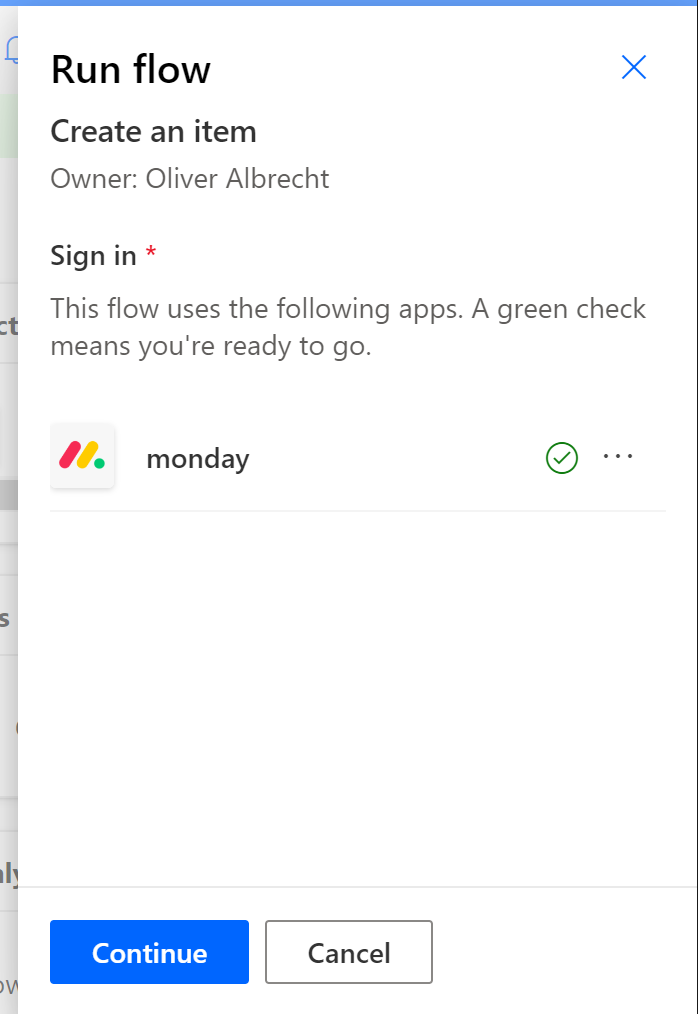
10. Click the "Continue" button to continue with running the flow.
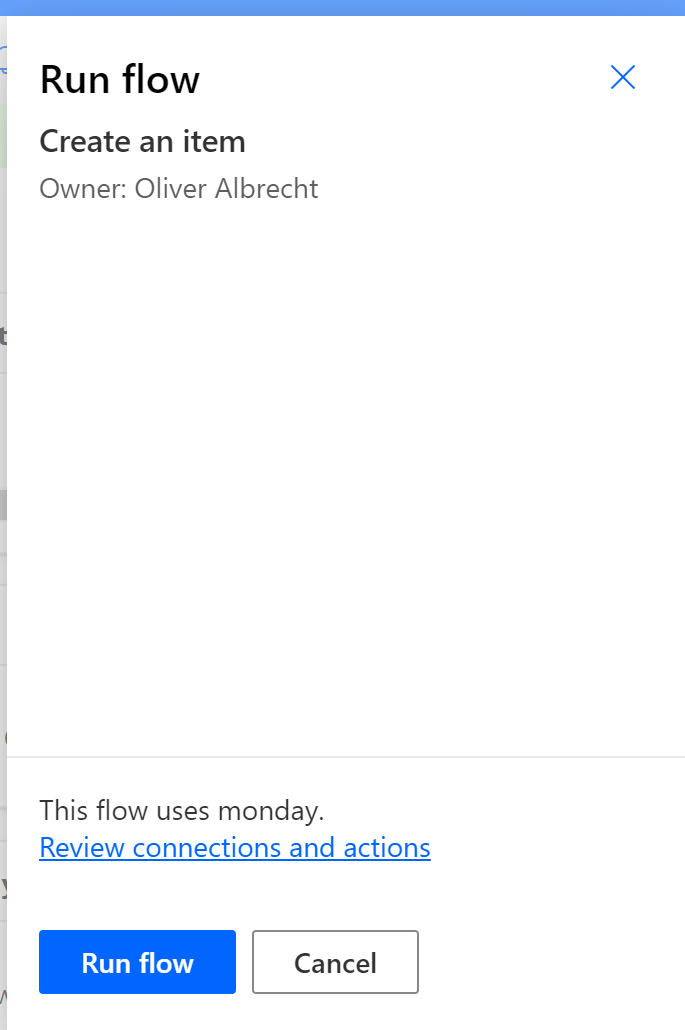
11. Click the "Run flow" button to start the flow.
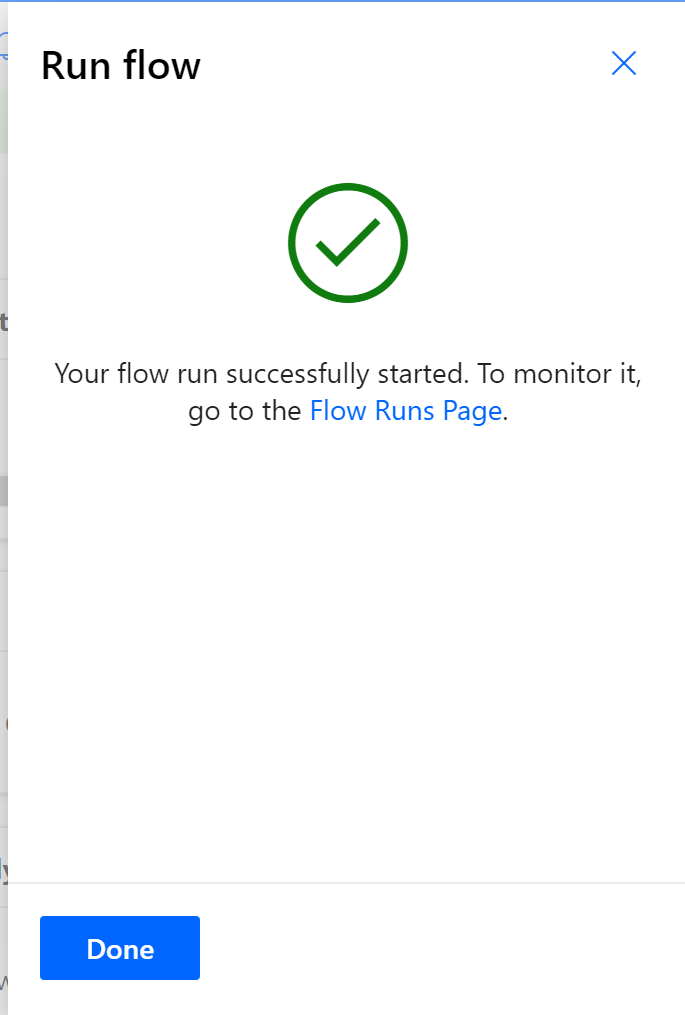
12. The flow should have completed successfully.
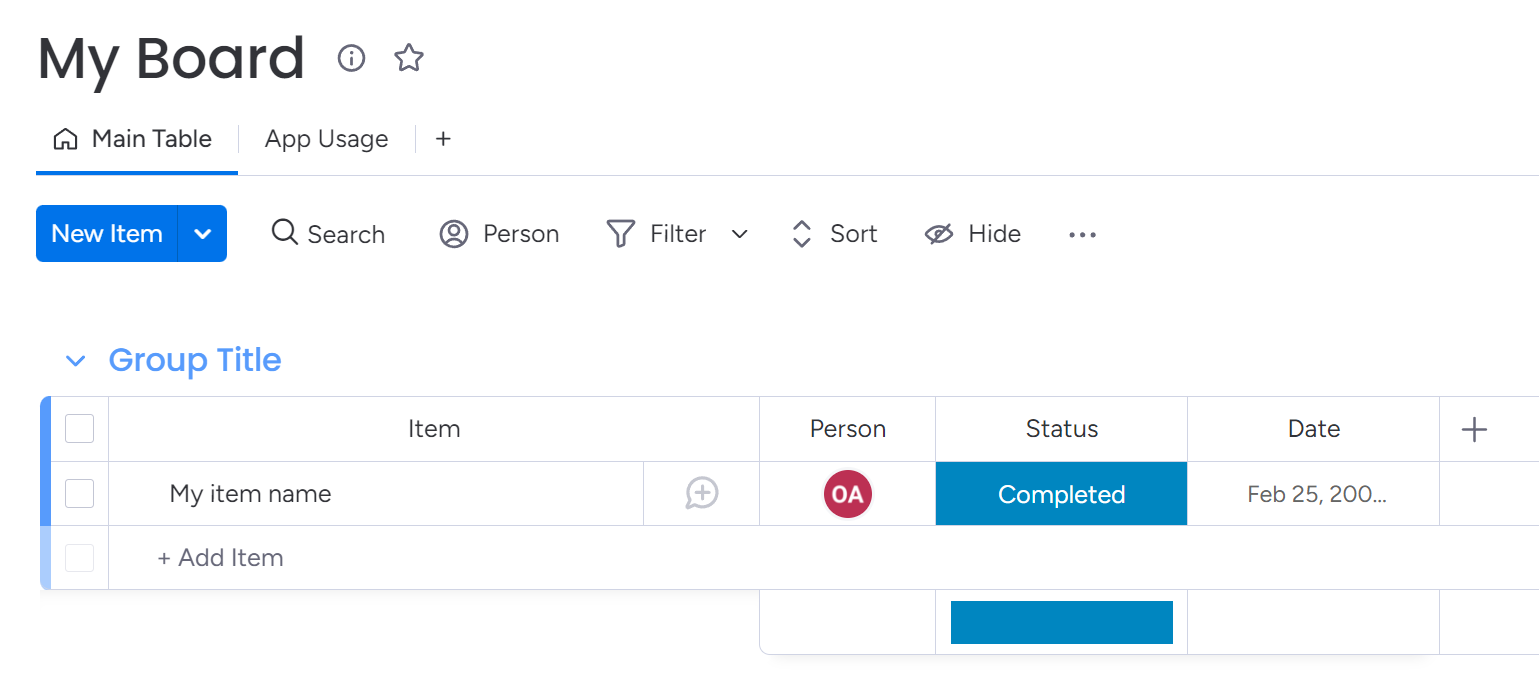
13. You should see the item has been sucessfully created in monday.
Need any additional help that the documentation doesn't cover? Feel free to reach out to our support team at support@plugingenie.com. We are happy to help answer any questions you may have.