Microsoft Planner Example
Follow this tutorial to learn how to send monday.com items to Microsoft Planner.
Prerequisites
If you have not yet added the "Microsoft Power Automate" app to monday.com and added the "monday" connector to Power Automate, please follow the steps in the Getting Started Guide.
Sending a monday.com Item to Microsoft Planner
In this tutorial, we will be sending items from a monday.com board to Microsoft Planner. The way we will do this is by creating a flow in Power Automate that triggers when a specific column in monday.com (the Planner Bucket column) changes. When this column changes, it will create a task in the corresponding bucket in Microsoft Planner.
To get started, I will add a new column to my monday.com board, which contains the name of the bucket in Microsoft Planner that I want to send the item to. This column is of type "Status" and is named "Planner Bucket".
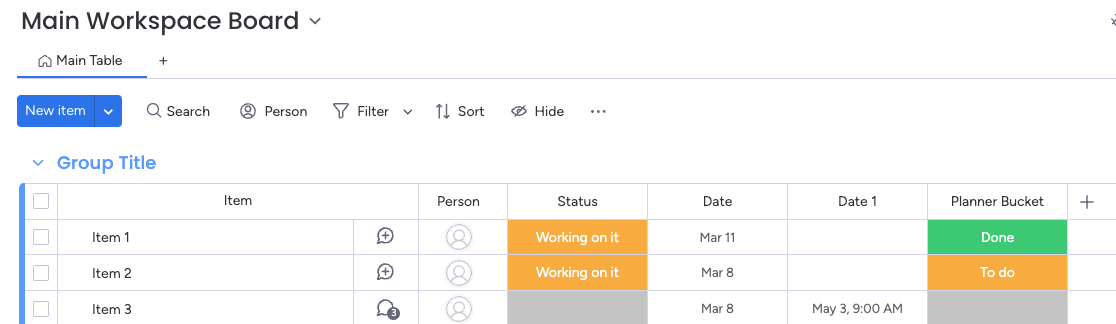
The Status column values match the bucket names in Microsoft Planner (To do, and Done):
For this example flow, when the Planner Bucket column changes, it will create a task in the bucket in Microsoft Planner that has the same name. For example, if the Planner Bucket column in monday.com is changed to "To do" for an item, it will create a task in the "To do" bucket in Microsoft Planner.
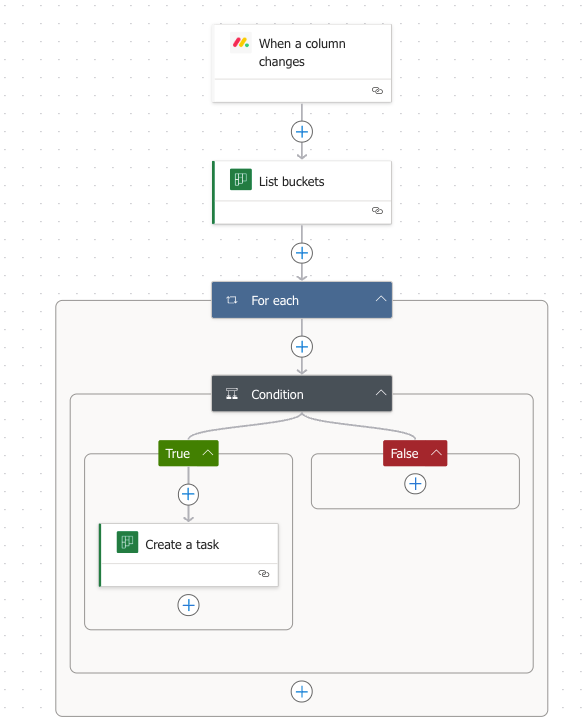
Here is our final flow:
Next, I will go over each step to create this flow.
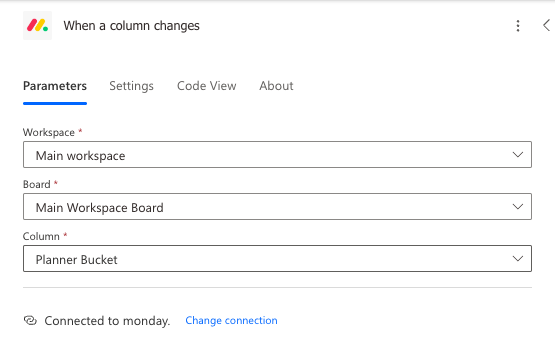
First in the flow is the "When a column changes" monday trigger, which executes when the Planner Bucket column changes:
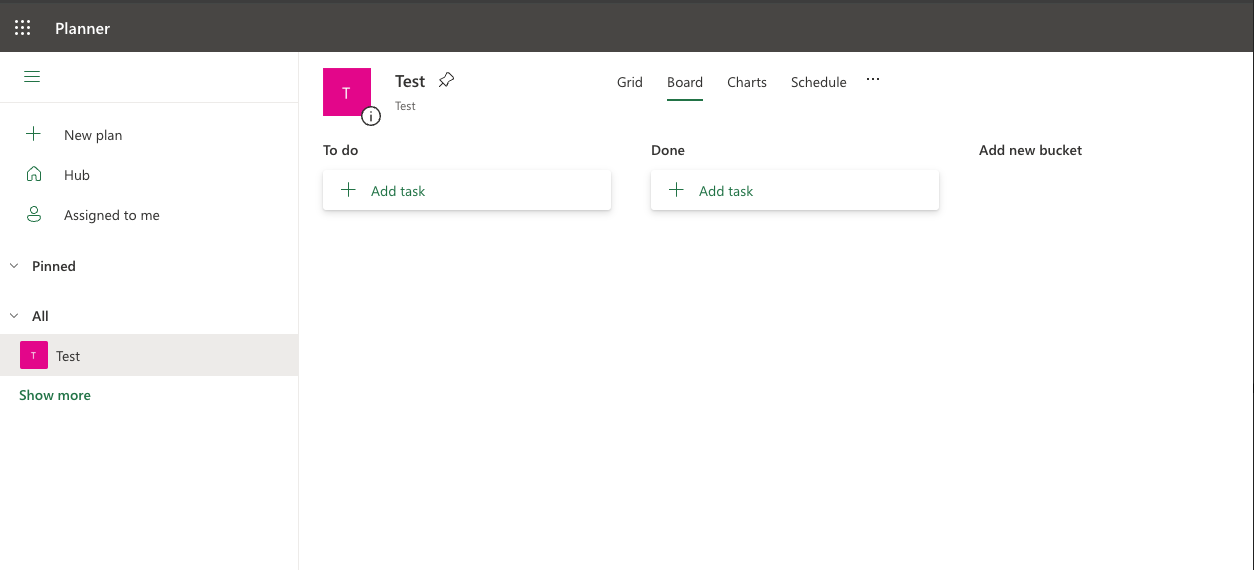
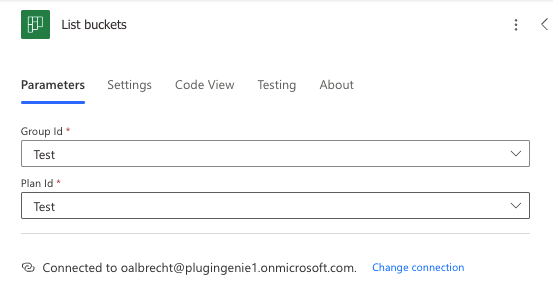
The next step is to list the buckets available in our Planner board:
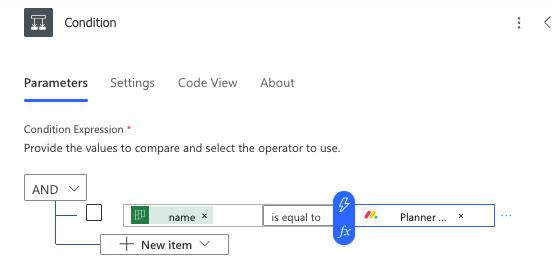
After the "List buckets" step comes a condition block, which compares the Planner name to the "Planner Bucket" column in the monday.com item. I used dynamic content (the lightning bolt) to select the field from the previous action/trigger.
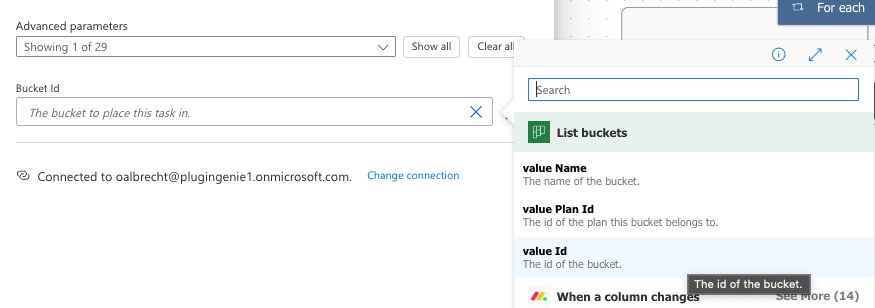
If the condition is true (meaning the name of the Planner bucket matches the name of the item's Planner Bucket column), then it will create a Planner task, using the name of the item for the title. The Bucket Id field is a custom value that uses dynamic content to select the "value Id" output from the List Buckets action.
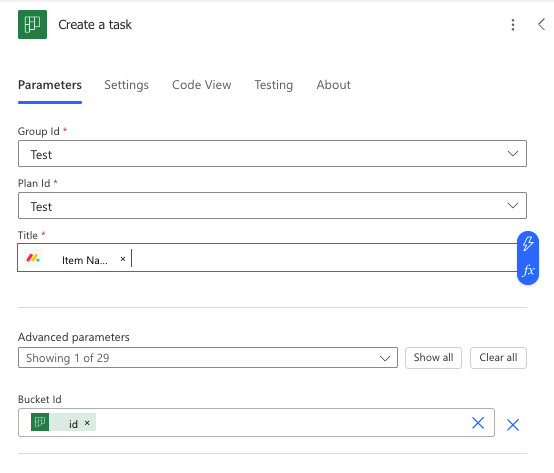
Here's another screenshot showing how I selected the "Bucket Id" after selecting "Enter custom value" and clicking on the lightning bolt icon:
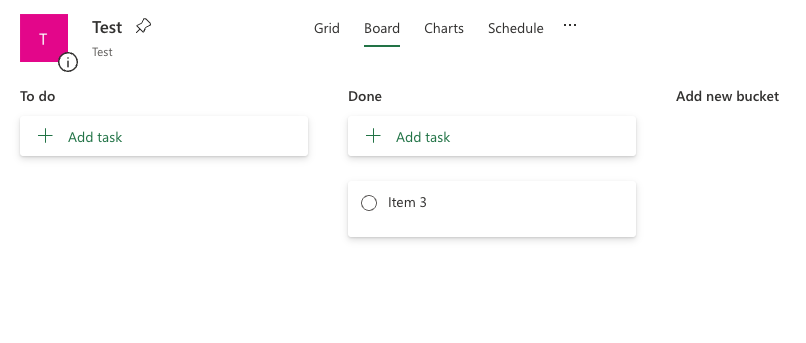
To test it, I change the "Planner Bucket" status in monday.com to "Done" for Item 3:
![]()
The task is then automatically created in the "Done" bucket in Planner, and has the name of my item as the task text: