Creating a Trigger
In this guide, we create a new Power Automate flow using the "When an item is created" monday trigger, then save the item name to an Excel spreadsheet.
Create a new Power Automate flow using the monday.com connector
To get started, we will create a new Power Automate flow based on trigger. We'll authenticate the connector with monday.com. Finally, we'll use the output of the trigger in a Power Automate action.
1. In Power Automate, click on "My flows" in the left sidebar
2. Click the "New flow" button
3. Select "Automated cloud flow"

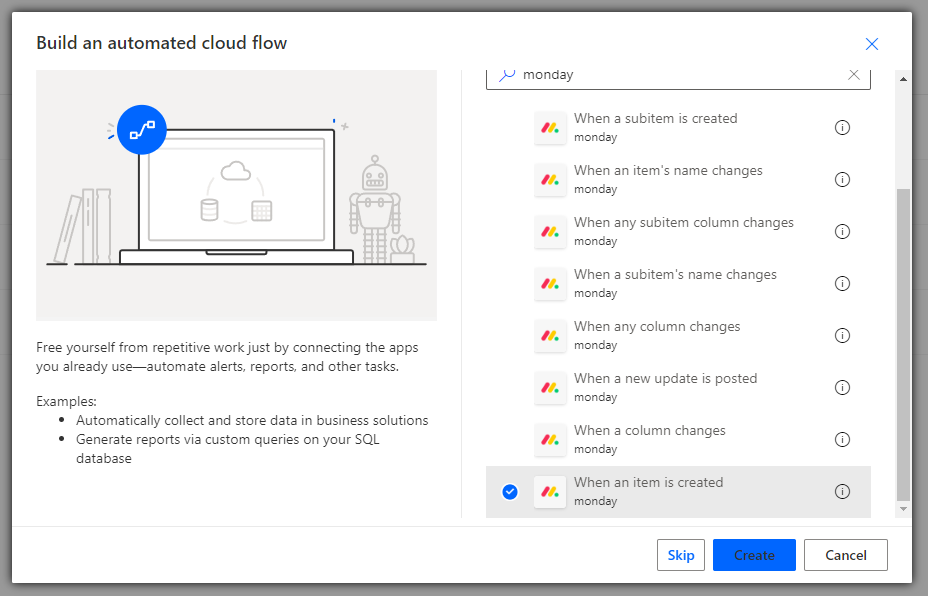
4. Add a name for your flow. Then search for "monday" in the search box.
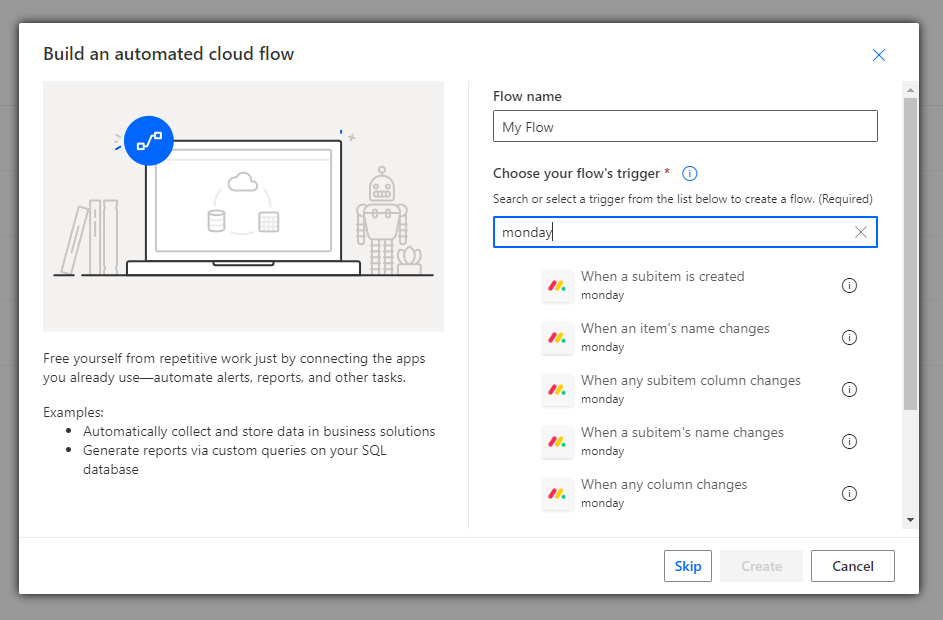
5. Select the trigger "When an item is created", then click the "Create" button.
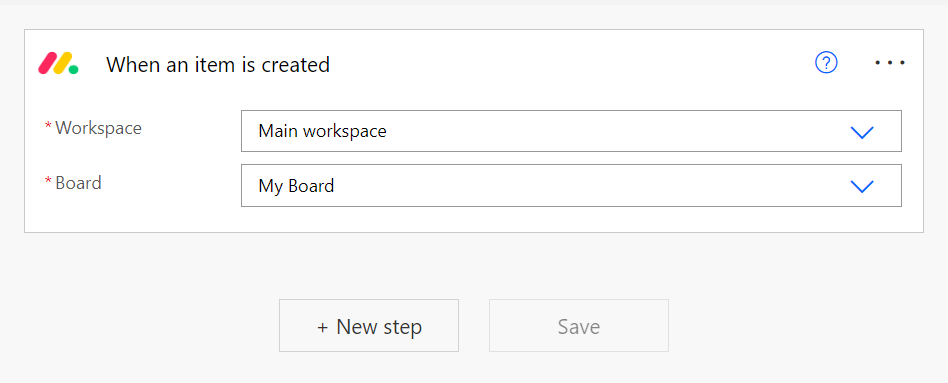
6. Select your workspace and board. When an item is created on this board, it will run the trigger.
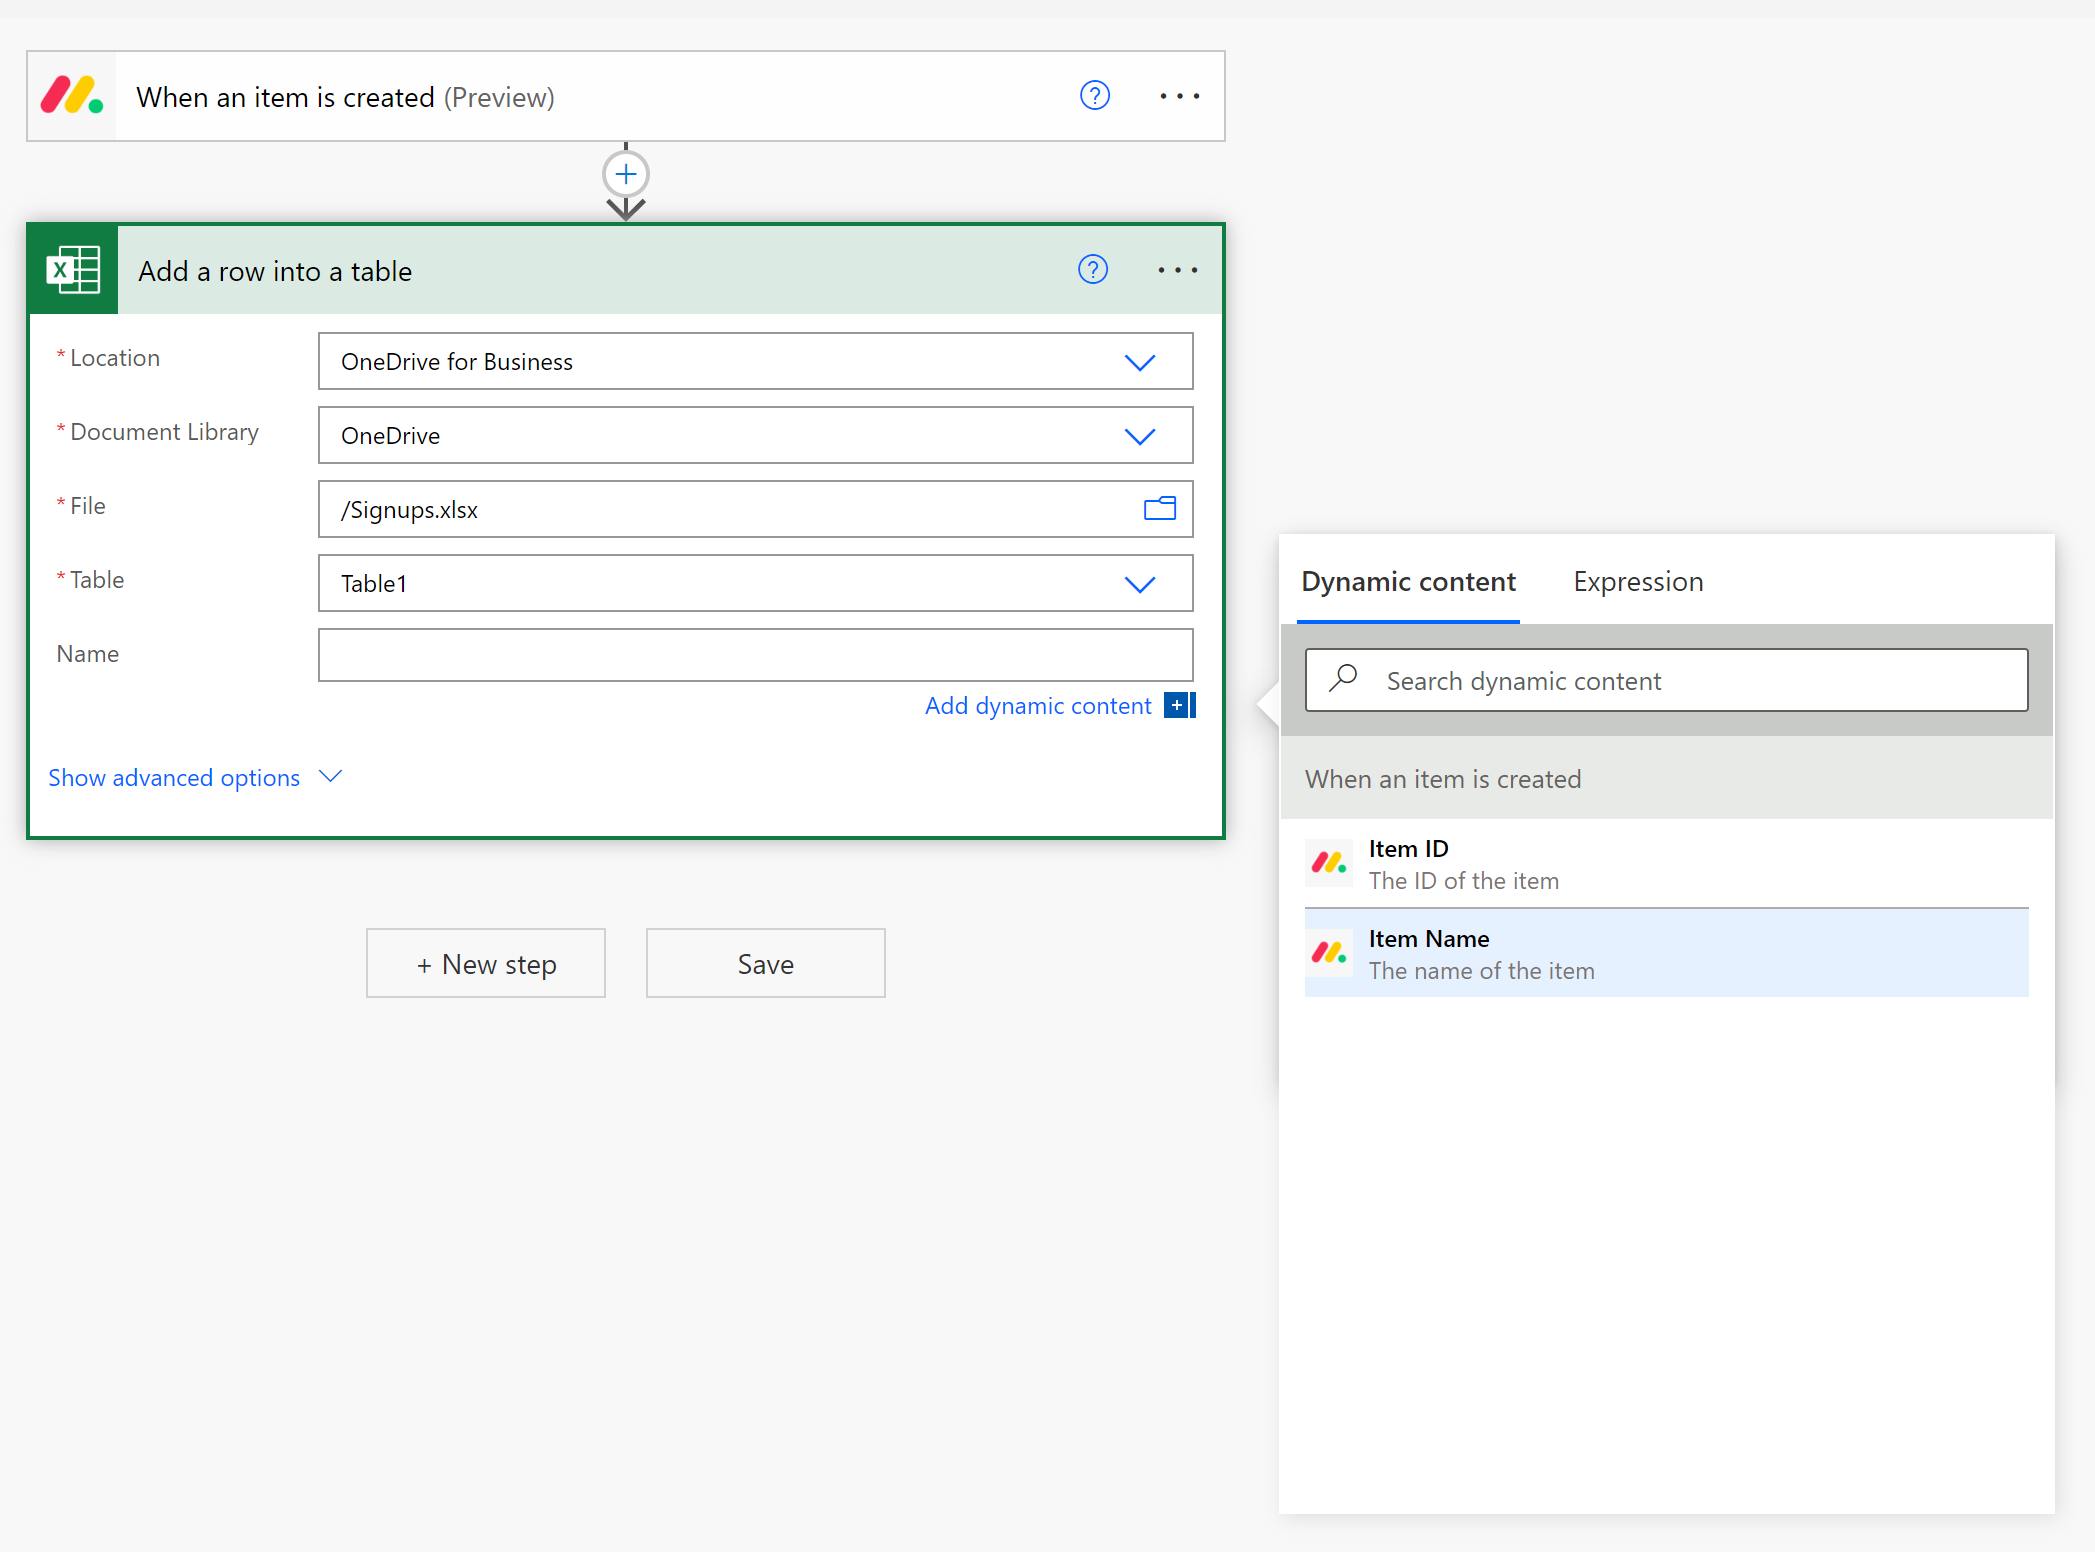
7. Add whichever steps you would like to execute when the trigger is triggered, using the data from your monday.com trigger.
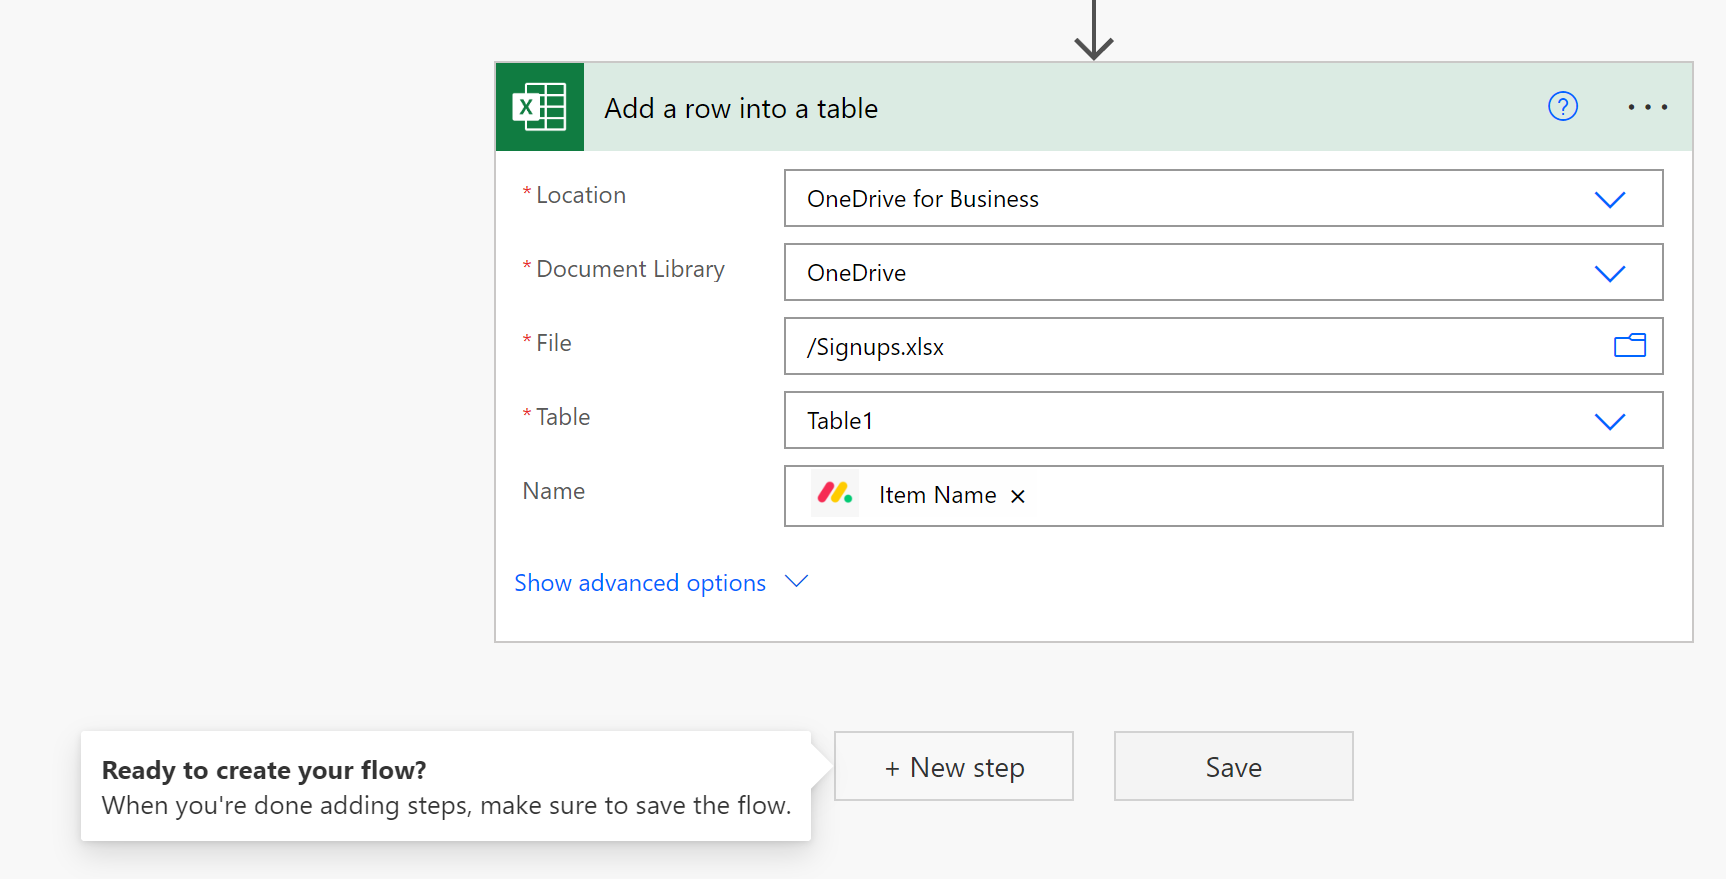
For example, here we've selected Excel's "Add a row into a table" action to add the item's data into an Excel spreadsheet.
Click inside the Name field, which will then automatically open the "Dynamic content" window. In this window, you can select the fields that are returned by the trigger. In this case, we're selecting the Item Name field.
Note: Other monday triggers, such as the "When a column changes" trigger, contain a lot more dynamic content (such as the columns for the item).
8. Finally, save the flow by clicking the Save button.
When you create an item in monday.com, it will now execute your Power Automate flow.